Lesley's Famous White Chicken Chili


Football is almost officially over - one of my favorite times of the year, not only for enjoying the sport and times spent with friends at tailgates and game parties (plus a few beers...), but also because of all of the tasty "football food" associated with a Saturday or Sunday. From ribs and burgers on the BBQ, to chips and salsa with a beverage of choice in hand - there is something so laid back and relaxed about the "season" of football, but it is also to be said about the comfort food we enjoy at the same time. With friends coming over yesterday for some Sunday afternoon fun watching football, I knew what I had to make.

A few years back, my Mom was a guest at a Sunday football "get together", and one of her best friends had made white chicken chili. The following morning, I got an earful about just how "amazing" this chili was, and that she had the recipe for me. I had never even heard of a version of chili described as "white", as I was more accustomed to traditional red, meaty chilis full of different beans and herbs and spices. But, this "new" chili was intriguing, so I thought I would give it a try...

...and now, it virtually is the only chili I enjoy making, and eating.

Full of white beans, chicken, sour cream, onions, garlic, and spices - this white chili is hands down my go-to recipe for any group get together. It's been a hit (and repeated request) at tailgates for USC games, so many times in fact that this chili simply became known as "Lesley's Famous Chili". 

Ingredients:


(note: this chili is best made at least one day ahead to let the flavors develop. It can be frozen up to 6 months. It also doubles and triples extremely well, but 1 times this recipe is plenty for 6-8 people, especially if there is other food involved!)
  • 1 pound bag dried white beans (such as great northern), rinsed
  • 6 C chicken broth or vegetable broth
  • olive oil
  • salt and pepper
  • 2-3 large chicken breasts, boneless and skinless, cooked, and cubed (about 4 C)
  • 2 medium onions, chopped
  • 8 cloves garlic, minced
  • 1 can (7oz) Ortega whole chilis, seeded and chopped
  • 4 tsp ground cumin
  • 2 tsp dried oregano
  • 1 C sour cream
  • 1C shredded Monterey jack cheese
First, in a large stock pot, combine the beans and the chicken broth. Bring to a boil and reduce to a simmer and cook the beans until extremely tender, about 1 1/2 hours. (Make sure to simmer, NOT boil, the beans as they will break down and too much liquid will evaporate.) This will take a bit of time, but the flavor infused into the beans is worth it in the end.


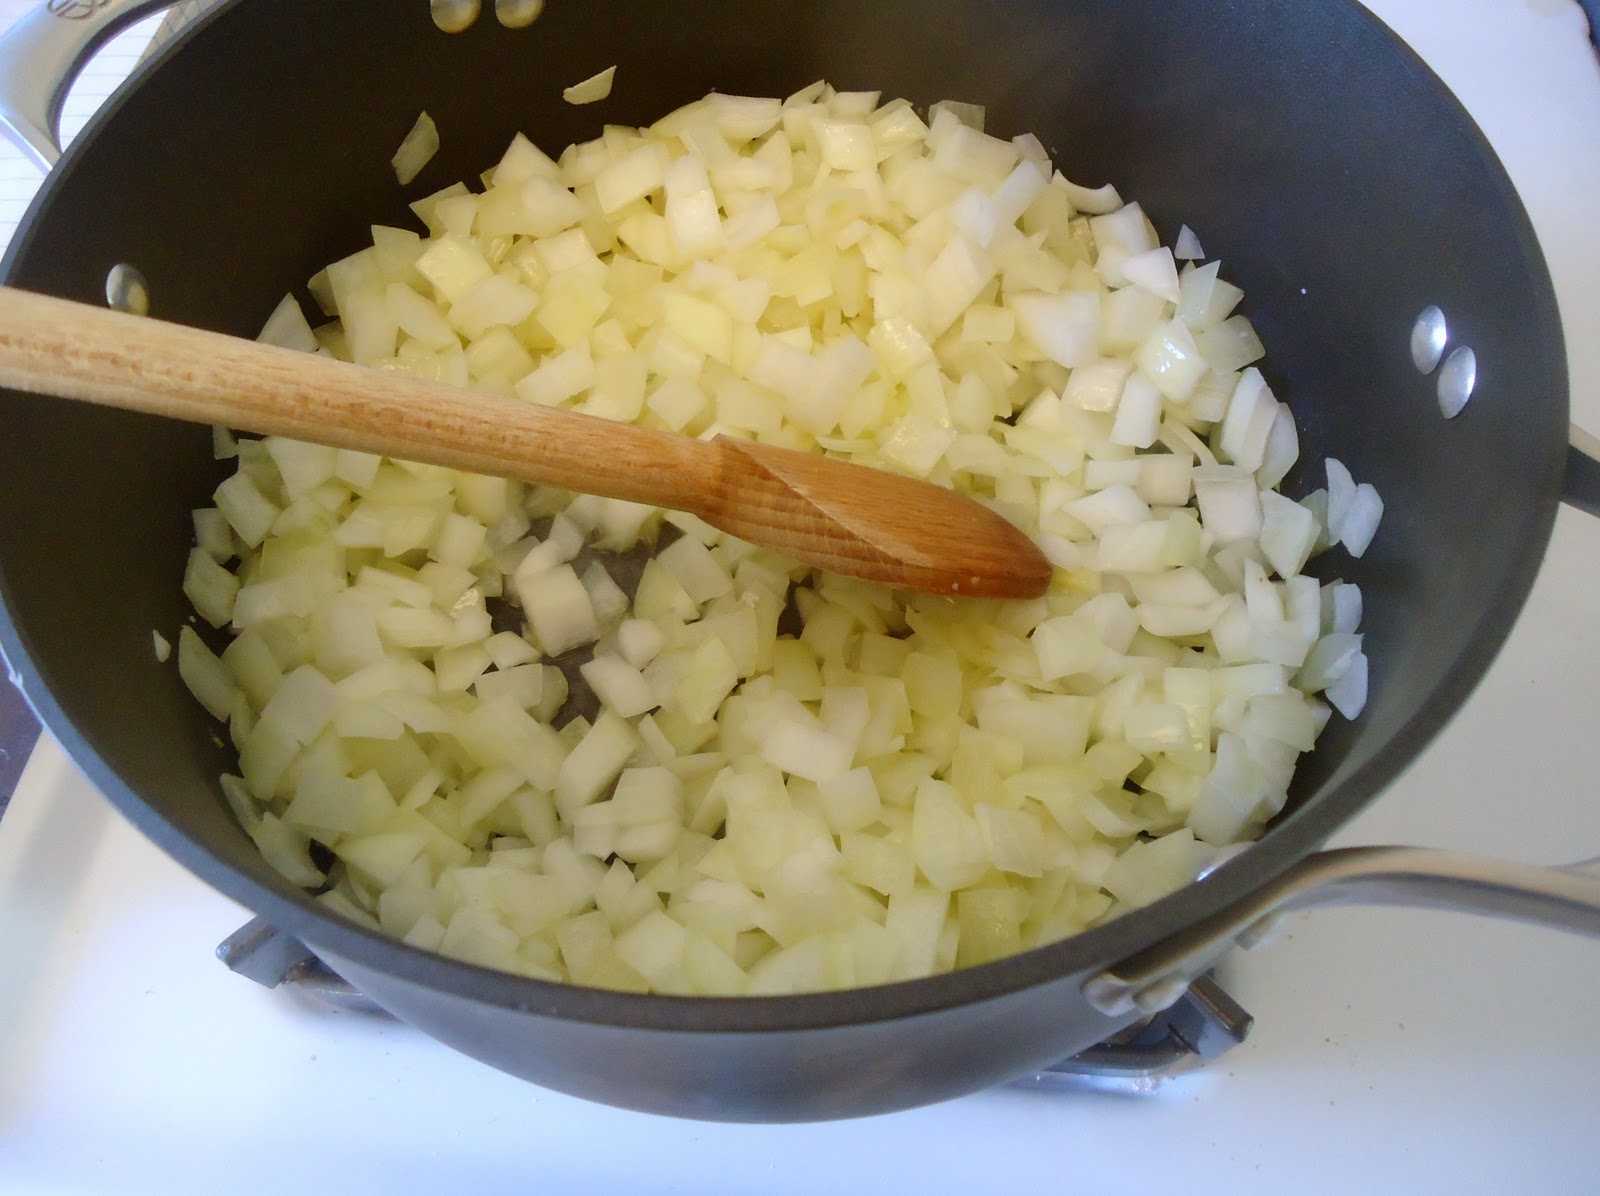
Next, in a large saute pan, heat up some olive oil and add your onions with some salt and pepper and "sweat" them (no browning) for about 10 minutes or until they look slightly translucent.


Meanwhile, time to chop up the garlic - yes, that is a lot of garlic, but the flavors mellow out during the entire cooking process.


Add the garlic, cumin, oregano, and chiles to the onions and cook for about 5 minutes until all of the ingredients are mixed together well.


Next, add the cooked chicken to the onion mixture (my trick: preheat oven to 350F, season chicken with a little salt, pepper, and drizzle with olive oil, bake for 20 minutes and allow to cool before cubing).


When the beans are ready, add the onion-chicken mixture to the beans with the sour cream and cheese. Bring chili to a boil and reduce to a simmer for about 30 minutes. Season with salt and pepper.


My preference is to cool the chili down by removing from heat, and chill in the refrigerator overnight, but you can serve it immediately. When ready, I like to serve with a little queso fresco and a dash of ancho chile powder and ground cumin.


And, once again, this chili was an absolute party hit - even after plenty of grilled sausage, sliders, and 7 layer dip. Bowl after bowl was consumed, with a few beers to help wash it all down, leaving my friends happy and full after a wonderful Sunday. 

Beet Cured Salmon Gravlax with Wild Arugula Salad


Salmon - one of my favorite, versatile fishes to eat. I adore raw salmon as carpaccio or sushi, pan seared salmon with sea salt and pepper, delicately poached salmon with whole grain mustard sauce, barbequed salmon with a tangy glaze...and then there is salmon gravlax.

The term gravlax comes from an old Scandinavian way of preserving salmon by lightly salting it and burying it in the ground, normally near the sea line, where it would ferment/"cure" the fish to last through the long winters. Nowadays, we don't necessarily follow these old traditions - rather today's gravlax is generally made with a mixture of sugar, salt, spices, and herbs that is packed over the salmon to withdraw the moisture and add flavor. The end product is a sweet, briny slice of salmon, similar in texture to smoked salmon, that is perfect with salads and appetizers, or just on its own. I used to make my own gravlax a lot for catered parties as it is a fantastic and dramatic alternative to smoked salmon or lox.

Recently, Fellow Foodie and I were in Las Vegas and had the opportunity to dine at Aureole (by Charlie Palmer) - on the menu was "Beet Cured Salmon Gravlax", of which we were eagerly curious to try. When it arrived, all we could say was ""WOW". The beet juice had perfectly tinted the edges of the salmon slices a bright rosy red color, and the flavor was so subtely salmon with the essence of beets and a bit of sugar and salt. We thought this dish was so sublimely simple, we had to give it a go at home.

After researching a few recipes, we collaborated and came up with our own, which is as close as we could get to the wonderful dish we had at Aureole.


Ingredients:

  • 2 pounds of salmon, with skin
  • 1/2 C sugar
  • 1/3 C kosher salt
  • 1 medium sized red beet, washed clean and grated (no need to peel)
  • 1 medium sized orange, grated
  • 1 tbsp whole black peppercorns, crushed

You can cure the whole piece of fish whole, but I prefer to cut mine down the middle.


Next up, in a small bowl, mix together the sugar, salt, and grated orange peel with the crushed peppercorns.


Add the grated beets to the sugar-salt mixture and stir well to combine all ingredients. The sugar and salt will begin to "melt" with the liquid from the beets - this is fine.


Place half of the salmon, skin side DOWN, in a baking dish. Cover with half of the salt-sugar-beet mixture.


Place other side of salmon FLESH SIDE DOWN on top of the other piece of salmon and cover with remaining  beet mixture, making sure every part of the salmon is covered.


Cover dish with plastic wrap, and place salmon in the refrigerator for at least 12 hours, but preferably 24 hours. 

When the salmon is ready, remove it from the sugar-salt-beet mixture and wipe off any extra mix. The salmon will feel stiff, perhaps a bit leathery - this is from the cure. The salt draws out the moisture in the salmon, replacing it with the flavor of the sugar and orange zest. And, when you begin to slice it, the salmon should look just like this:


Beautifully bright red on the outside, and perfectly orange still on the inside! 


Thinly slice the salmon into about 1/8" thick slices, carefully carving towards the skin. Make sure to use a well sharpened knife.


Many slices of the salmon didn't make it to our plates as we could not stop snacking on our creation! But, with the slices that we did manage to keep around, we decided to plate in a circular form, almost "mimicking" the look of carpaccio.


Next up, we took some wild baby arugula, some of my Basic Vinaigrette, and gave it a good toss with some sea salt and pepper.


Plated with a knob of burrata cheese, this was one of the yummiest salads/appetizer plates.


The color from the beets contrasting with the orange from the salmon was beautiful - and oh-so delicious. You could taste a hint of beet flavor but most importantly the salmon was perfectly balanced with the salt, sugar, and orange zest flavors that came through with every bite. The peppery arugula, paired with the citrus and shallots from the vinaigrette, were fantastic with the creaminess of the salmon and the burrata cheese. Drizzled with a little Meyer Lemon Olive Oil, this salmon was heavenly. And, beyond being delicious, this salmon was easy and fun to make. 

Pan Seared Local Halibut with Roasted Brussel Sprouts, Red Quinoa, and Chive-Shallot Vinaigrette


It seems every that every January, with the holiday season behind us, I take a break from pouring over all of my cookbooks and magazines and recipes - with good reason! Come January 2nd, I am ready to rid my refrigerator of any and all leftovers from holiday parties and gatherings and once again turn back towards healthy ingredients I love to eat and to cook with. 


And some of those delicious and "good for you" ingredients found their way to my plate last week in the form of the picture above: Pan Seared Local Halibut with Red Quinoa, Roasted Brussel Sprouts, and Chive-Shallot Vinaigrette. Simple, oh-so-delicious, easy, and healthy.


I am one who falls in the category of "LOVER" when it comes to brussel sprouts. Simply halved, tossed in olive oil with salt and pepper and roasted at a high temperature until the outside leaves get crispy and the insides get soft = LOVE. I am also a huge fan of quinoa, a "grain" that has is very high in protein and contains a balanced set of essential amino acids - it is also gluten free and high in fiber. And, it is extremely easy to cook - just like rice.


This is a well-balanced meal that will not only tantalize your tastebuds, but it will also leave you wondering, how can something this healthy taste this good?


Cheers and enjoy!


***


Ingredients: (2 portions)

  • 8-10 brussel sprouts, outer leaves removed and cut in half1 C dry quinoa (red or white)
  • 1 C chicken stock (or water or vegetable stock)
  • 2 6oz portions halibut (or other firm whitefish), skin removed
  • olive oil
  • salt and pepper
  • shallot and chive vinaigrette (click on link)
Preheat oven to 375F; toss halved brussel sprouts with 2 tablespoons olive oil, and season with salt and pepper. Place in roasting dish and put in oven for 15 minutes or until outer leaves are crisp and slightly brown and insides are tender. Keep warm.

Meanwhile, in a small sauce pot, bring chicken stock to a boil. Add quinoa and reduce heat to medium low, cover with lid and cook, covered, for about 25 minutes or until all liquid is completely absorbed.

Heat a nonstick skillet over medium high heat and add about 1-2 tablespoons of olive oil to pan. Season both fillets of fish with salt and pepper, and add to pan. Sear fish until a light brown crust begins to form, about 5 minutes; flip fish and cook on other side until cooked through, about 4 more minutes.

Plate all together with a drizzle of the chive-shallot vinaigrette on the fish, the quinoa, and the brussel sprouts.