Bread Pudding with Leeks, Bacon, Mushrooms, and Artichoke Hearts
Bread Pudding: most hear those words and think DESSERT! No folks, Bread Pudding can also be savory. A myriad of ingredients can make this side dish a star in its own right.
Savory Bread Pudding with Caramelized Leeks, Smoked Bacon, Mushrooms, and Fontina Cheese
8 C Bread - (day old) cut into 1" cubes
3 leeks, white part only, cleaned, sliced into 1/2" chunks
6 slices smoked bacon, thick sliced, cut into 1/4" chunks
1/2 pound shiitake mushrooms, (about 12-14), stemmed and cubed into small pieces
1 - 9oz can artichoke hearts, drained (frozen can be substituted)
4 large eggs
2 C heavy cream
1 C chicken broth (chicken stock, if you have it!)
2 C Fontina cheese, shredded
Olive oil, butter, kosher salt, and black pepper
* Preheat oven to 350F
* prepare a 9 x 13 x 2 roasting pan by coating with a little olive oil all over (to prevent sticking)
* heat a saute pan over medium heat with about 3T butter; add leeks and cook for about 5 minutes until soft and slightly caramelized; remove from pan and set aside
* to the same pan, add the bacon; allow the bacon to cook until done; remove with a slotted spoon and set aside(save the bacon oil in the pan)
* add the cubed mushrooms to the bacon fat and cook until slightly browned, about 7 minutes; remove from pan and set aside
* in a large bowl, combine the cooked leeks, bacon, mushrooms, and artichoke hearts
* in another bowl, whisk together the eggs, cream, and chicken broth; add this to the bread mixture and fold together (the bread needs to soak up the mixture, so fold once and then come back in 5 minutes and mix again); mix in half of the Fontina cheese to the bread mixture; season with salt and pepper
* pour bread mixture into prepared pan; spread remaining shredded cheese on top; place in oven and cook for 30 minutes. Sides should be brown and top of bread pudding should be slightly toasted and bubbling - if needed, cook for another 10 minutes if middle is not cooked through
* allow to slightly cool and serve
** uncooked mixture can be made at least 1 day in advance before baking
Chicken Stock - Save the Bones!
Which leads to making a lot of homemade chicken stock.
Once a week, usually on Sundays, we roast a whole chicken. Or, if we are too busy during the week most likely you will see me grabbing a whole, cooked rotisserie chicken to go at our local market. On a whim we'll grab bone-in chicken breasts, legs, and thighs and throw them on the grill for an impromptu BBQ dinner with friends.
A (good, make that GREAT) habit that we got into over the last few years was saving the bones and whole carcasses after finishing meals. We'll grab one of those over-sized, resealable plastic bags, toss in whatever is left of the bird, and throw the bag in the freezer. Over the next few weeks, we'll add the new bones to the bag.
When you are ready - grab a large stock pot, simply throw the bones in the pot with onions, garlic, carrots, herbs, and water; let it simmer for a few hours. The end product is healthier and tastier than the boxed or canned broth on market shelves. Plus, it will freeze for up to 6 months. Make it your new (good) habit to save the leftover bones and carcasses of chicken for future use instead of throwing them out!
It's all too easy. REALLY. Think about the "whole" chicken the next time you eat one - save your bones, and, most importantly, make this stock. Your taste buds will thank me.
Ingredients:
(note - this recipe has been doubled for the photos)
- 2 pounds chicken bones (saved and frozen or ask your local butcher for chicken bones to make stock)**carcass/bones from whole chicken amount to roughly 30% of the total weight at purchase**
- 1 large onion, roughly chopped (does not need to be peeled)
- 4-5 carrots, roughly chopped (do not need to be peeled)
- 7 garlic cloves, smashed (do not need to be peeled)
- 2 dried bay leaves
- 2 tsp whole black peppercorns
- 1 small bunch fresh thyme (with stems)
- 1 small bunch fresh parsley (with stems)
- approx. 14 cups cold water (enough to cover the ingredients)
![]() |
| Yep, that is one full plastic bag of chicken bones! |
![]() |
| About 4 pounds of chicken bones - would have been trash, now is the base for incredible stock! |
![]() |
| Placing the chicken bones in the pot |
- In a large stock pot, add the reserved chicken bones
![]() |
| Mis en Place - Onions, Carrots, Garlic, Thyme, Parsley, Peppercorns, and Bay Leaves |
![]() |
| My little kitchen buddy, Lucy, loves her chicken, so she had to check out what was going on in the kitchen from her "perch" |
- Roughly chop up the carrots, onions, and garlic - no need to remove the peels - it's an unnecessary added step
- To the chicken, add the carrots, onions, garlic, thyme, parsley, peppercorns, and bay leaves
I was doubling my recipe, so I split it up into two pots!
- Add 14-15 cups of cold water to the pots, enough to cover the chicken and the other ingredients; bring to a boil and quickly reduce to a rolling simmer over a low heat for at least 4 and up to 6-8 hours
![]() |
| Stock reduced after 2 hours |
![]() |
| Stock reduced by 4 hours |
Whether it's been 4 hours or 6-8, turn the heat off on the stove and let the stock cool for about 20 minutes. Strain into a large bowl and then divide into containers to store. One genius way of storing stock is in ice cube trays - it makes for easy defrosting in smaller sizes. Dominic LOVES his Talenti Gelato, so we save the containers to re-use for many purposes, most commonly for stock (above).
Cheers and enjoy!
Roasted Red Beet Risotto with Pan Seared Salmon
| Red Beet Risotto with Pan Seared Salmon |
I have been anxiously waiting through the record-heat months of September and October 2012 to cook with some of my favorite Fall ingredients, such as kale, butternut squash, pumpkin, and beets.
I was recently inspired by a dish created by our kitchen team at The Pacific Club using beets in a way I had never used them before: in risotto.
I had never even thought to put the two ingredients together before - but it was striking to look at. The chef used the beet risotto as a compliment to pan-seared salmon; the little red "pearls" of arborio rice stood out beautifully against the orange flesh of the salmon, and just when I thought it was just a pretty dish to look at, I took a bite. The balance of the flavor of the beets with the rice and the salmon was perfect. I asked chef the basics of how he made his risotto, and he said he folded in roasted beet puree during the final stages before plating.
I knew this was one of the next foodie things I was going to try.
Ingredients:
2-3 small red beets, roasted and peeled
2 T butter
1 shallot, minced
1 clove garlic, minced
3/4 C arborio rice (or other risotto rice)
1/2 C white wine
3-4 C chicken stock or broth, heated in a separate pot
salt and pepper
**grated Parmesan cheese optional
(Roasted Beets: Pre-heat oven to 375F; place beets in a baking dish with peel still on and toss with a little olive oil; cover with foil and roast for 30-40 mins or until tender; allow to cool before handling.)
Carefully remove the peel of the beet from the beet away
| Peeled Beet |
Meanwhile, add cooled beets to a food processor; puree the beets until completely smooth; season with a little salt and pepper.
| Lucy, my kitchen Sous Chef for the evening |
Add the arborio rice to the pan and bring the heat to medium-high; stir the rice for about 2 minutes, slightly toasting the rice with the shallots and garlic.
Add white wine; bring to a boil and cook until there is no more wine in the pan, constantly stirring.
Begin adding hot chicken broth to the rice, a few ladles at a time, enough to cover the rice, and continue to stir over medium to medium low heat, allowing the rice to absorb all of the liquid before adding another stage of liquid to the rice.
Once the rice has absorbed the broth, begin adding another few ladles to the rice (enough to cover) and continue process over again, a total of 3-4 times, until rice is al dente/soft, and appears to be creamy.
Season salmon with salt and pepper; heat olive oil in a non-stick saute pan over medium-high heat and sear in the pan for about 5-7 minutes; turn salmon and continue to cook for an additional 3-4 minutes. Remove from pan and set aside.
While salmon is either cooking or resting, add beet puree to the rice and stir together thoroughly.
Season with salt and pepper and add grated Parmesan cheese (if desired).
And plate!
Cheers and enjoy!
Chicken Breasts Stuffed with Sauteed Onions and Brie
| Chicken Breast Stuffed with Sauteed Onions and Brie |
It became a staple. I began cooking it when I was at home with my family on the weekends, tweaking it as I cooked along. Sorority sisters, who would join on weekend getaways to my parents house, became fans and spoke about this dish back at school the next week. When we finally all lived in our "first" apartments off campus our Senior year, I was asked to make it for a pledge class/group girls dinner. I will never forget prepping about 20 of these chicken breasts in my little kitchen with no dishwasher off of 27th street, trucking everything over to a friends house, to enjoy this amazing yet simple chicken dish, that was on the healthy side as well. This was one of my "first" times cooking for a larger group all on my own, and as I grew my catering company in early 2003 I often thought about that meal and the group of best friends that I had cooked for and how that evening had kinda been the "jumping off" point for my cooking career to come.
Over the years, many of those same sorority sisters would remind me "remember when you made that super yummy brie-chicken dish...", and I would always say "I haven't made that in so long, I have to do that again!" But, it wasn't until this past August that I thought to return to this recipe, not only for the flavor and simplicity of the dish, but also to return to the memories of making it that night in college. We recently lost one of our "sisters" to brain cancer, and as we all gathered for her beautiful services in August, we embraced over stories from college and memories of our dear friend, including that night that I made this chicken. I promised to make it and post it here.
Cheers and Enjoy.
Rest in peace, dear Jackie. You are and will always be missed. FIGHT ON.
Click here for printer friendly version
2 tbsp olive oil, separated
1 small onion (or 1/2 large onion), thinly sliced
2-3 garlic cloves, thinly sliced
1/2 C white wine
1/2 C chicken broth or stock
2 oz brie, rind removed, and cut into small pieces
2 chicken breasts, boneless and skinless
Sea salt and freshly cracked pepper
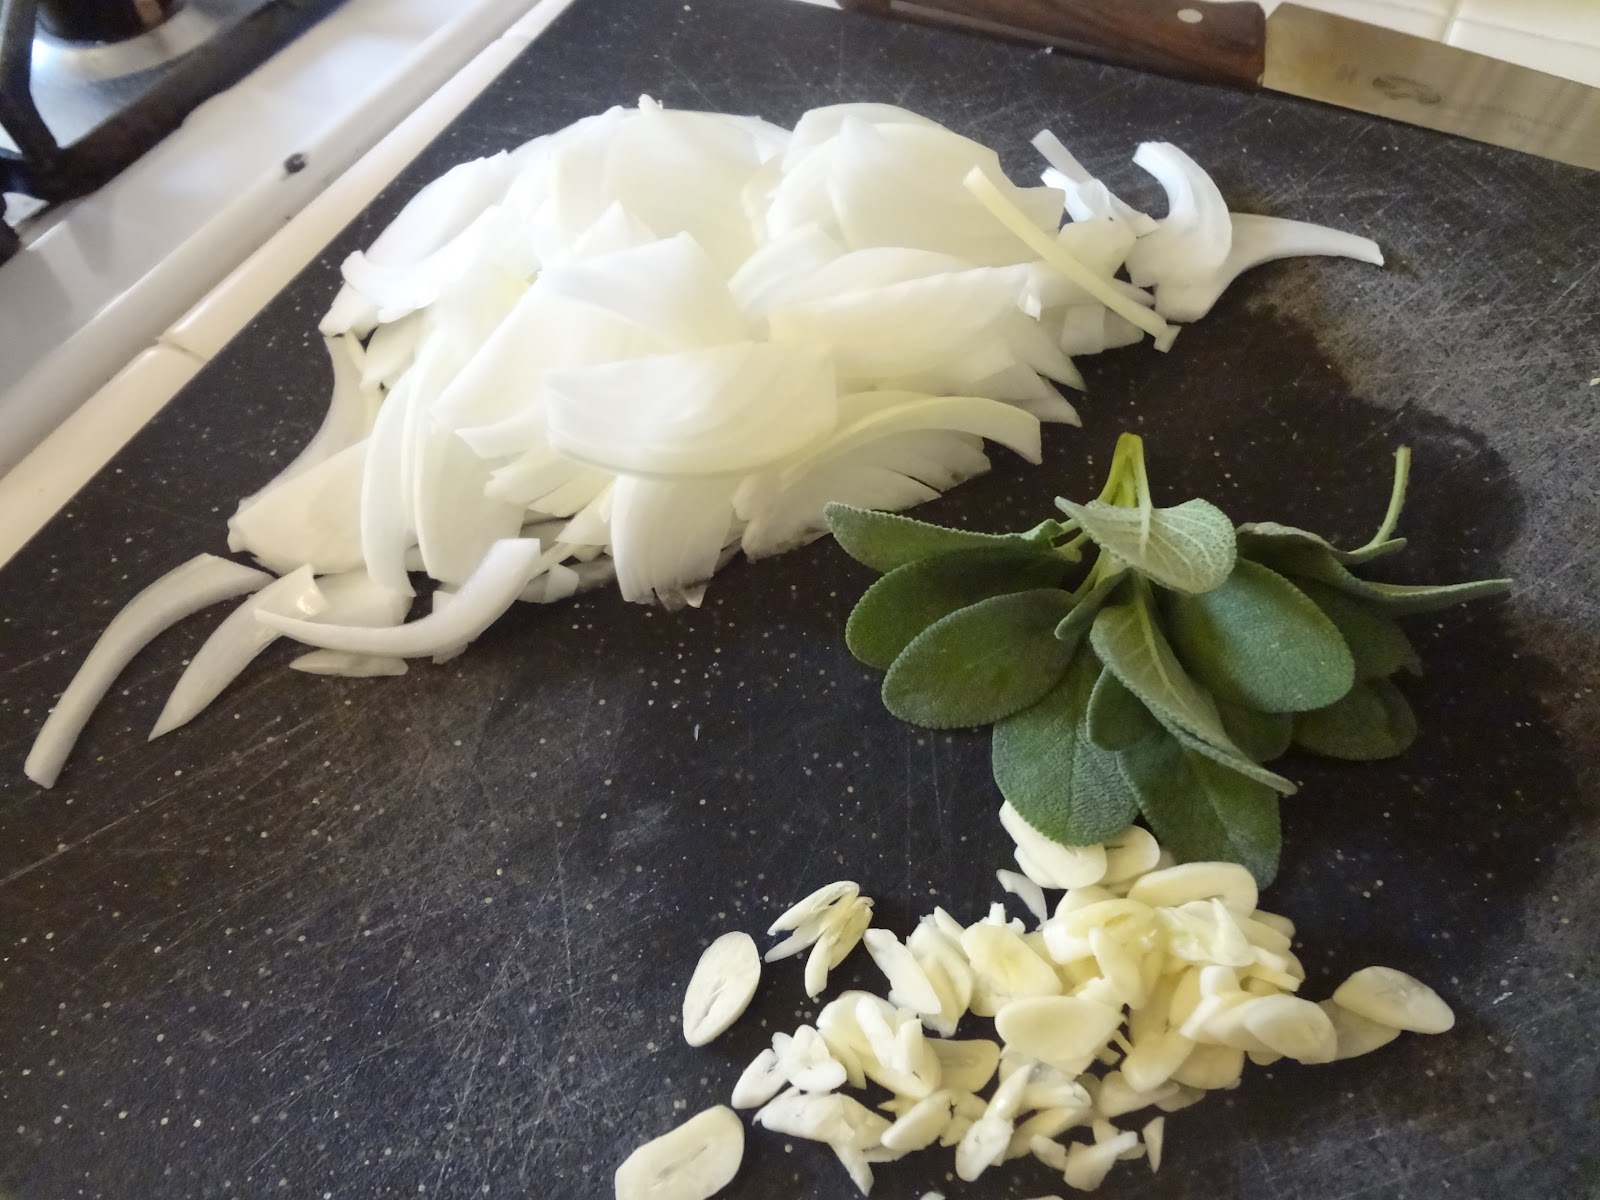
| Onions, sage, and garlic |
| Desired thinness of the garlic slices |
| Sauteeing the onions |
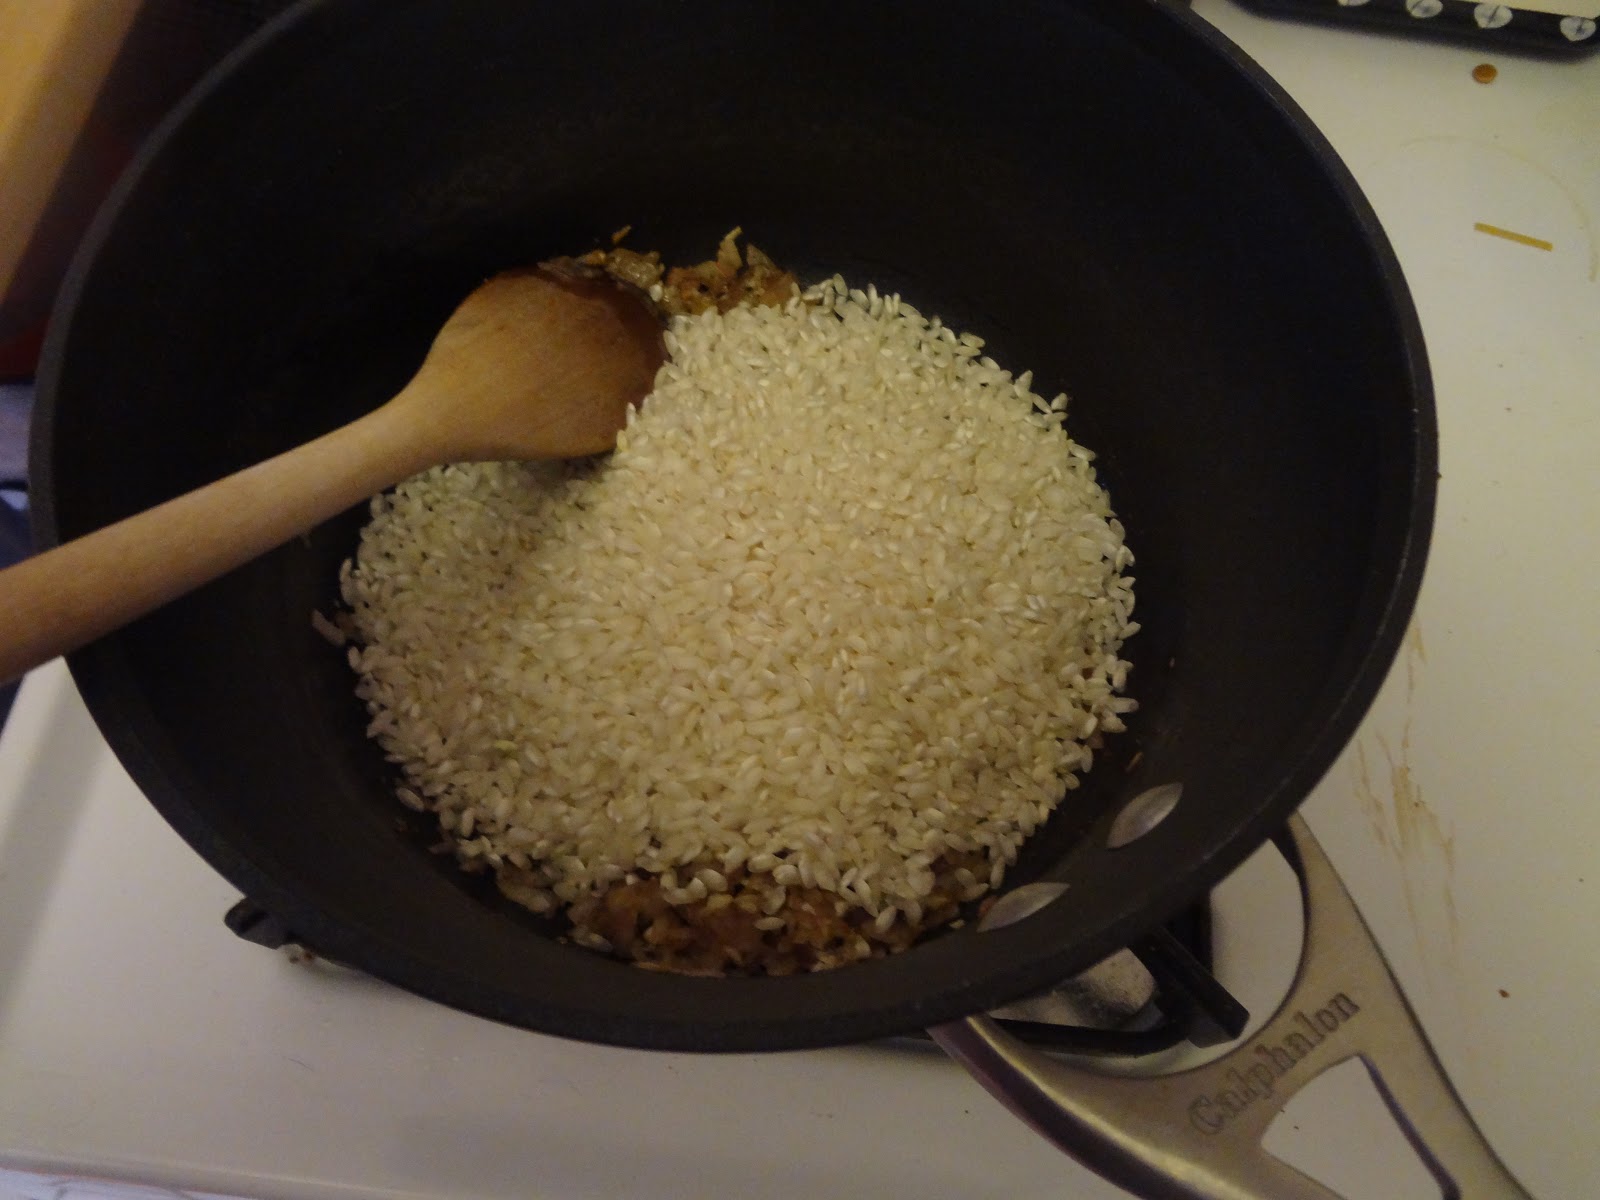
Heat Olive oil in saute pan over medium heat and add onions; season with salt and pepper. Saute over medium to medium-low hear, for about 20-30 minutes, until the onions are caramelized and golden brown. Add garlic and saute for about 5 minutes until the garlic gets soft and aromatic.
| Getting golden brown! |
| Add the garlic... |
Turn heat to high and add white wine and chicken broth; reduce liquid, scraping up bits in pan, until completely dry. Remove from heat and add to bowl with brie; stir to combine and melt brie. Season with salt and pepper, if needed. Place in refrigerator to chill about 20 minutes (this can be done a day in advance).
| Liquid evaporating |
Cut a horizontal slit into the thickest portion of the breast to form a pocket (make sure to not go all the way through to the other side); stuff breasts with the onion-brie mixture and secure pocket with 1-2 toothpicks. Season both sides with salt and pepper.
| Chicken pocket |
| Stuffing the chicken |
| Securing the chicken with toothpicks - it is ok if a little oozes out |
Preheat oven to 350F. Heat olive oil in a saute pan over medium heat; add chicken and cook for about 7 minutes; flip chicken and place in oven for another 6-7 minutes. Remove from oven and loosely tent with foil for about 10 minutes.
Serve with fried sage leaves.
Sweet Tooth Candy Co.
Hey everyone,
Please visit my catering web site by clicking here to see the specials I am offering this Holiday season courtesy of my new confections side gig - Sweet Tooth Candy Company.
We are making amazing Peanut Brittle, Old Fashioned Butter Nut Toffee, Original Peppermint Bark, and "Lucy Paws" (also known as caramel-pecan chocolate covered turtles). All items are made to order using the highest of quality ingredients, providing you with a fresher and better tasting candy to share with your family and friends!
Great as gifts, stocking stuffers, or just to enjoy on your own. Pricing and shipping information available!
Enjoy all the sweetness this Holiday season has to offer by choosing Sweet Tooth Candy Co.!
Hey all! This holiday season I am launching a "pop up" candy company, called Sweet Tooth, offering the best peppermint bark, peanut brittle, chocolate covered toffee, and salted caramel pecan turtles - just to start! More info to be posted tomorrow. If you are interested please message me for gifts for your friends and family. And, I will ship!
Have a great Thursday night - oh, and it's five o'clock, time to pour a glass of wine!
Cheers and enjoy - back tomorrow with more!
The Perfect Four Day Turkey - DAY TWO, AIR CHILLING
On to day two: 24 hours later and the turkey has enjoyed its bath in the brine. Now for the air chill.
Some may ask, why air chill the bird for another 24 hours? Well, to half answer that, I ask you a question: have you noticed at your market or butcher that your options for chicken range not only from organic to all natural but also include the option of "air chilled"? Air chilling poultry is an alternative method of cooling the chicken down after it has been defeathered, cleaned, and processed, which is actually better for the bird, and for the consumer. See a small video here to explain.
In essence, I am doing a similar method for the turkey - removing it from the liquid and allowing it to rest not only to remove all of the liquid but also to preserve that "turkey flavor". Plus, I personally find it makes for crispier skin during the roasting process.
So, pat that bird as dry as you can get it. Set the bird on top of paper towels in a roasting pan in the fridge to absorb up as much moisture as possible. If you want to turn the turkey over after 12 hours go ahead! It will only help to remove all of the liquid still left behind from the brining.
Another 24 hours and we are ready to make the pancetta-sage compound butter to go under the skin!
Subscribe to:
Posts (Atom)